last year, it seems I spent a lot of time playing with collodion and fighting to get it to stick to glass. This was a huge problem for me, hampering my ability work on Chasing O’Sullivan or any of my other special projects. However late in 2017 after talking to different people, asking questions, as well experimenting with different collodion formulas I was able to resolve the issue I was having with collodion sticking glass.

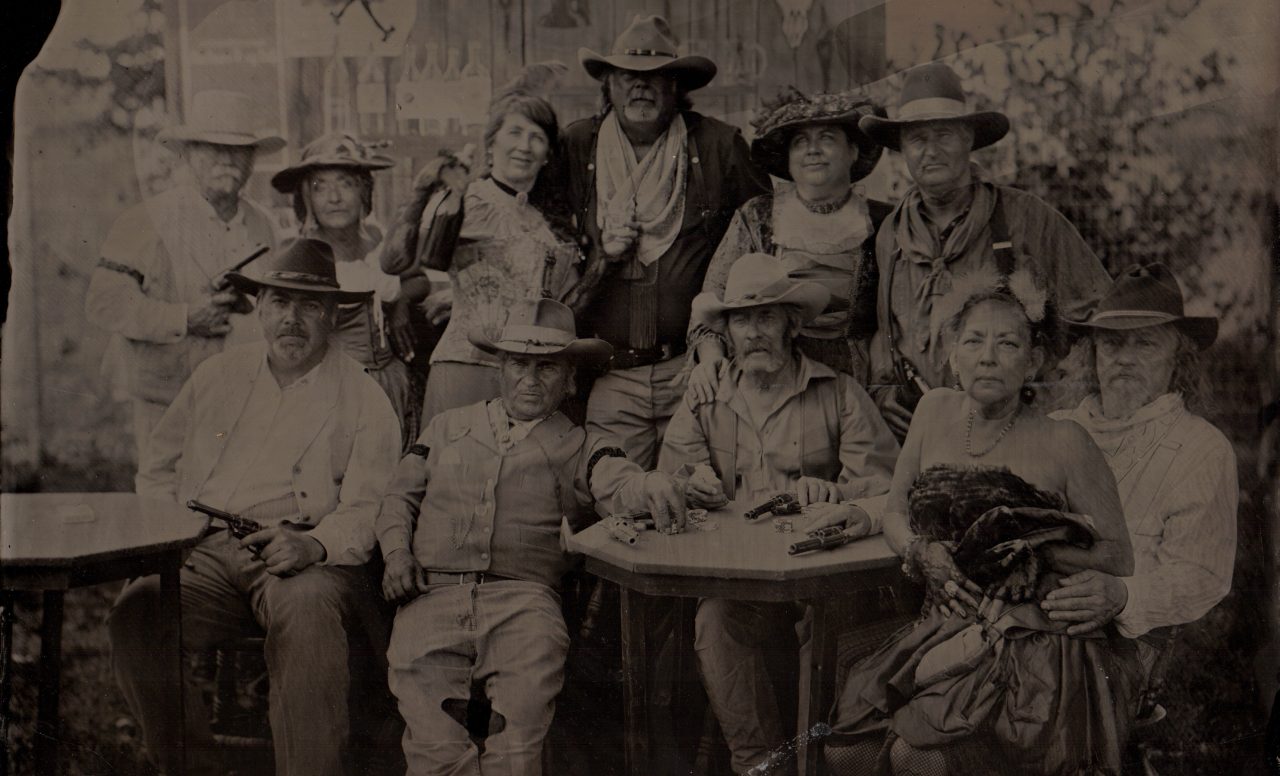
This Silver Gelatin print was done from an 8 x10 wet collodion negative, that I took on January 1st, 2018. I used my favorite formula of Old Workhorse Collodion. I simply cleaned the glass using rottenstone and alcohol, ensuring that the glass was squeaky when I ran the paper towels or finger across the edge. I didn’t apply albumen to the glass. This may sound silly, but most of the descriptions modern and historic about cleaning glass, talk about cleaning the glass using flannel, then holding the glass with silk, to obtain a static charge, or coating or edging the glass with albumen, while others, say clean it with rottenstone and alcohol, then washing the plate it warm soapy water.
then testing the glasses cleanliness by breathing on it, and watching how your breath clears. Nearly all of these different descriptions omit the squeaky part. Around the middle of last year, while talking to Dana Sullivan, We talked about Collodion formulas and albumenizing glass. and he said he cleaned his glass using the normal rottenstone and alcohol, then washed the plates with warm soapy water. Then dried the plates using some alcohol, but also ensured they were squeaky, and that he had no problems. with the Collodion sticking to the glass. Well, after some time I was able to experiment with this, only I omitted washing the plate after cleaning with rottenstone and alcohol, but I ensured the glass was squeaky and dust free. I then flowed my normal collodion. using my Darlot wide angle lens, wide open I took the above photo. again the lens was wide open, thus causing the vignetting, and I tilted my plate too soon, causing the collodion on the opposite side to run a little, but all-in-all for a 2-minute dusk exposure, I feel that it was a success. and aside from a tiny bit on the edges, the collodion is sticking. I also tried 2 two other plates for a photo I’m working on, that’ll show later once I’m done.
Other things:
2017 brought a lot of change, the year seemed long and short. long because it seemed that working as a field engineer and struggling to pay bills, that I wasn’t moving forward. it also seemed that I fought my collodion while twiddling my thumbs at some of the events and shows I did. people would say that’s amazing, and a photo is worth what I was asking but didn’t buy them. This, however also brought some change trying to integrate new ideas, while being invited to do paid talks and demos for schools in the new year.
I also spent time effectively creating a new job, that Segways into my childhood dream of creating magic through miniatures, as professional special effects model builder. For someplace such as Industrial Light and Magic or Disney. my background as an Artist and Electrical Engineer lead me down a path of installing advanced electronics into large-scale model trains, as well as designing and building new aspects while adding realism by weathering them. you may read about some of those pursuits through my webpage and small business that I’m presently calling Silver State Models the URL is still using wordpress, rather than a full Domain. the URL is https://kristinesotherprojects.wordpress.com/
Presently Silver State Models can be considered as a subdivision of Battle Born Historical Photography.
So, with that, for 2018, I’ll be consistently working on advancing Silver State Models, while introducing some exciting aspects to Battle Born Historical Photography, that’ll allow more people to experience time traveling to an when photography was considered magic
Happy New year from Battle Born Historical photography